Photobooth: GoPro + Raspberry Pi
There was a wedding in my circle of friends and I'm not quite sure, if the bridal pair wanted a photobooth for their party, or if one of my friends wanted to have one as a suprise for them. But that doesn't matter: There was an idea and I thought it won't be very hard to build one.
My head was like "Cam, Remote shutter, Raspberry Pi, a little bit of soldering and some coding - easy and fast".
This will not take a lot of time, one Sunday afternoon maybe. But: Jesus f*%&"?§ Christ!
It took my quite a while, to figure out, that there was a way to talk with a GoPro via HTTP-Requests.
While I was searching, I found the work of Konrad Iturbe. To be more specific: His painful reasearched unofficial HTTP-Request-API over all different GoPro-Models.
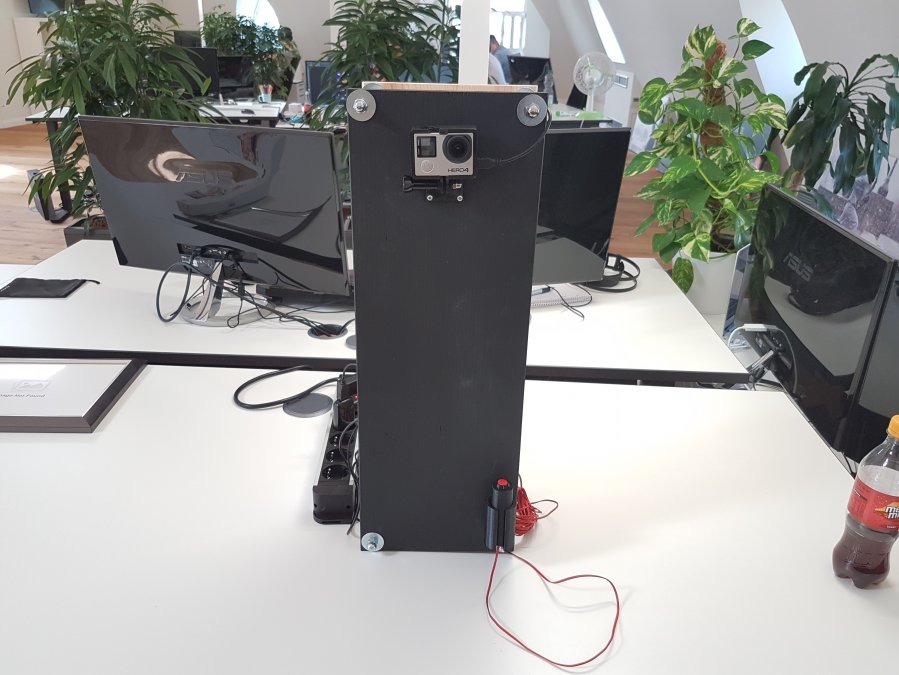
After some time, I found the commands to trigger the shutter and getting a list of all available images, stored on the GoPro. So only some hardware and code was missing. It seems that I'm most effective while I'm under pressure. I had only six days between the idea and a finished photobooth. Until the week I have to go to work, like everybody else. Only one day before the wedding, I screwed the last thing (which was printed over night) onto the case, before I went to work. So it was, more or less, a last-minute thing.
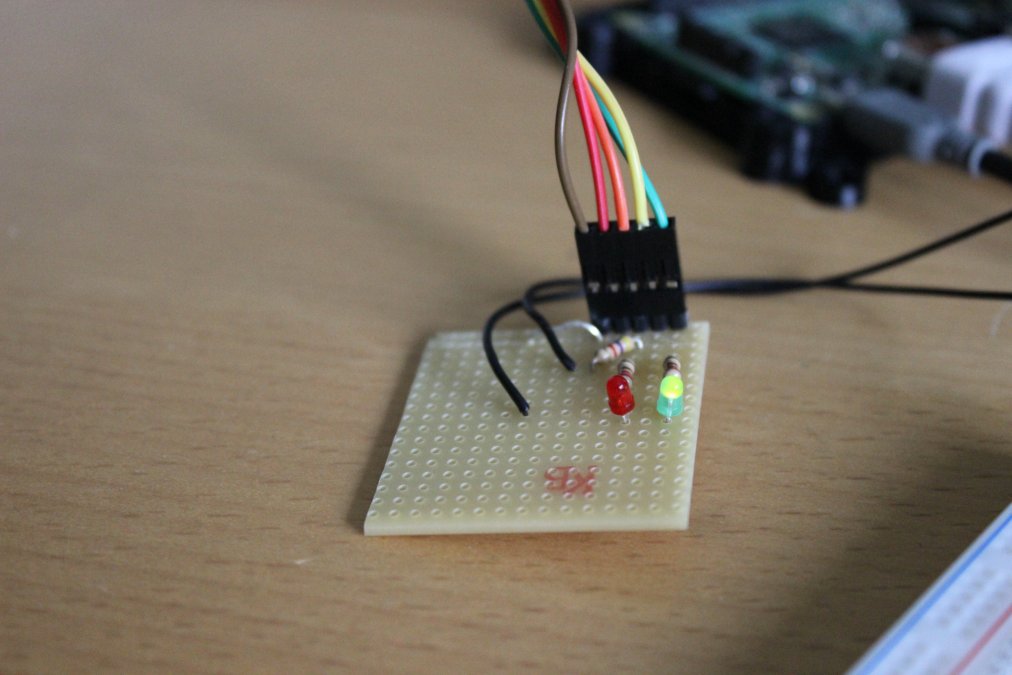
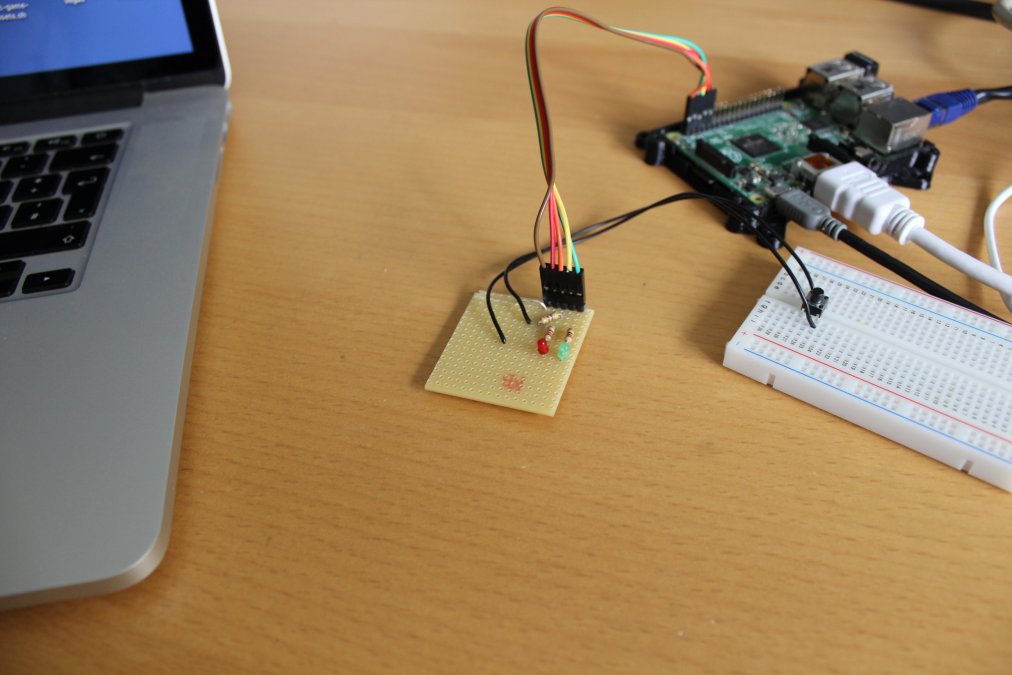
The goal was set: Their guest should be able to just stand in front of the camera, pushing a button and a picture will get shot. To get this done, I put some stuff onto a breadboard:
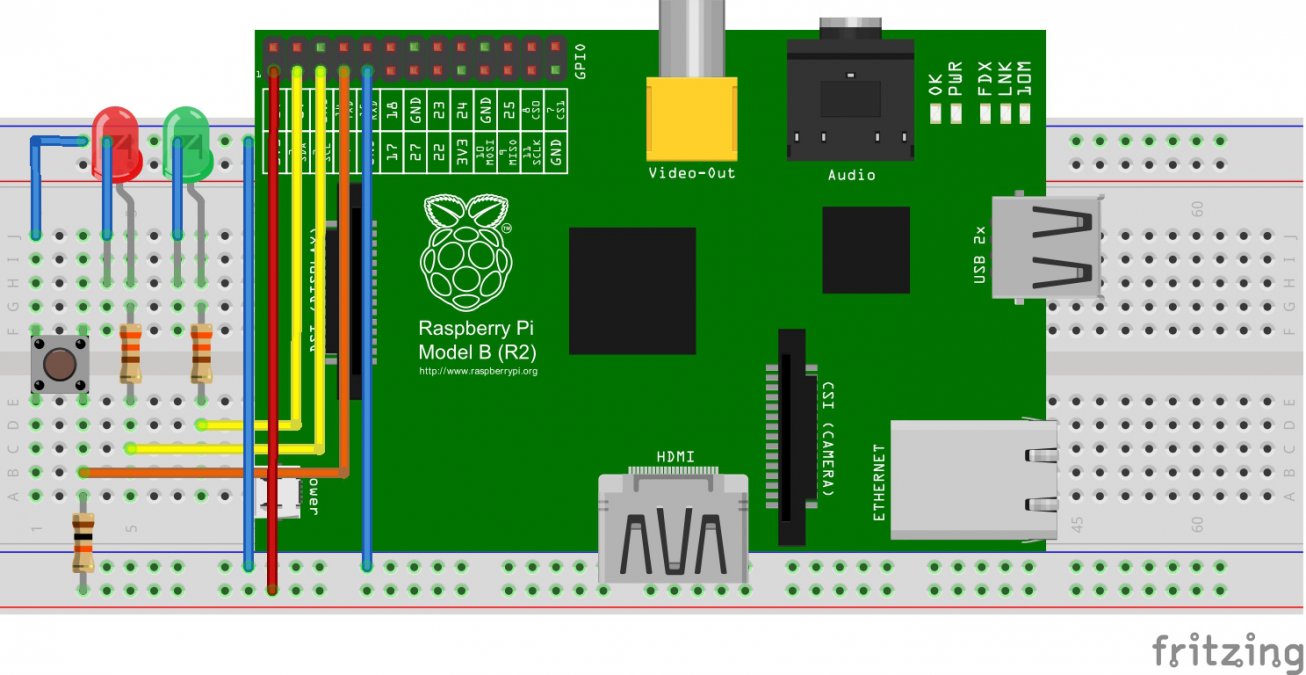
To build this circuit, you need the following things:
- 2 x Resistor (330 Ohm)
- 1 x Resistor (10k Ohm)
- 1 x Button
- 2 x LEDs (some "funny" colors)
At first, the LEDs were just added for fun, but I used them in the final circuit for debugging purposes. The button is used together with a PullUp-Resistor. That means: The input is always "High", as long as the button gets pushed (Low).
The handling of this button + switching the LEDs on/off is done by a script, written in NodeJS. This script also handles the previewstream of the GoPro, so the guests are able to see themselves, before shooting a photo.
The stream gets transcoded by FFmpeg and provides as a websocket, so the preview could get rendered as a canvas-element at the website afterwards.
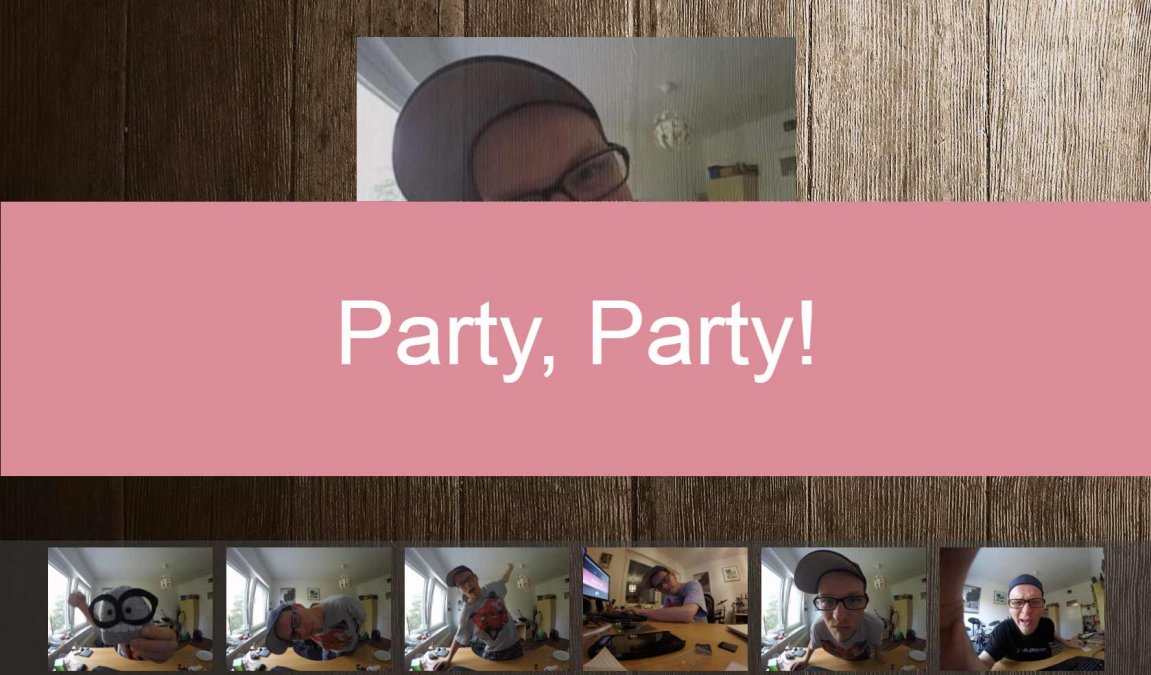
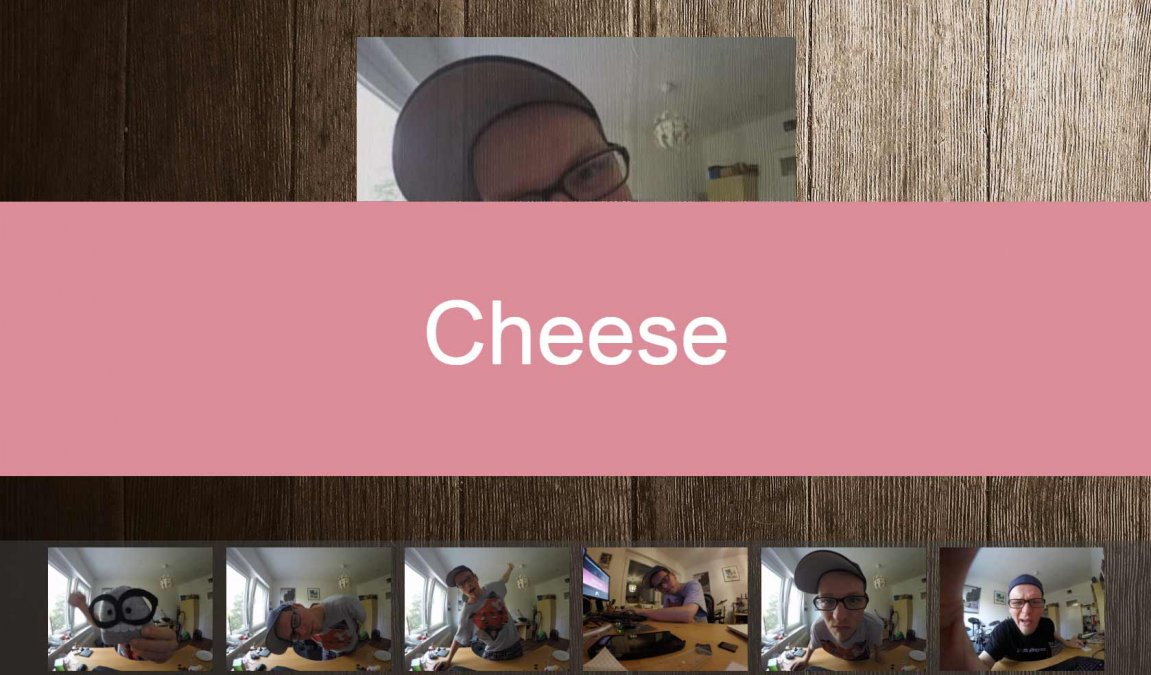
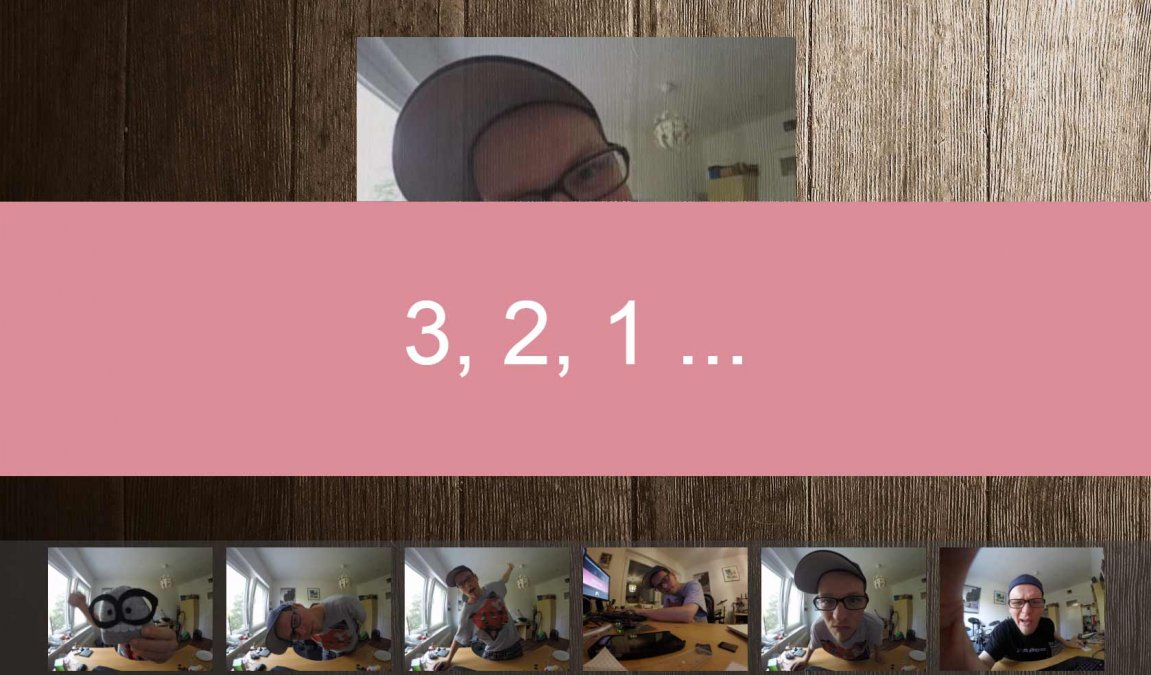
When we talk about design: I'm really bad in designing UI. So here is a screenshot of my awesome skills:

The part above is used as a preview, below you see the last X photos. When the shutter gets triggered, a random text appears. The texts can get customized to what ever you want.
There is one problem: The GoPro doesn't have a response, if or when it shuttered. So the script sends the request and sleeps for 2 seconds. This is very nasty, but I wasn't able to find a better solution.
In 99% of my tries, the cam finished shooting and storing the image in this timespan. Afterwards it requests a list of all available images from the GoPro and compares it with all known images. The unknown, new pictures will get downloaded and displayed at the website's bottom.
I have scribbled a small chart, which shows the way of commands:

Red marks the stuff, which is used to shutter the GoPro. Blue is the answer's way.
The photos are stored at two places:
- GoPro's SD-card
- Raspberry (in 2 versions: A raw copy from the GoPro, a small preview)
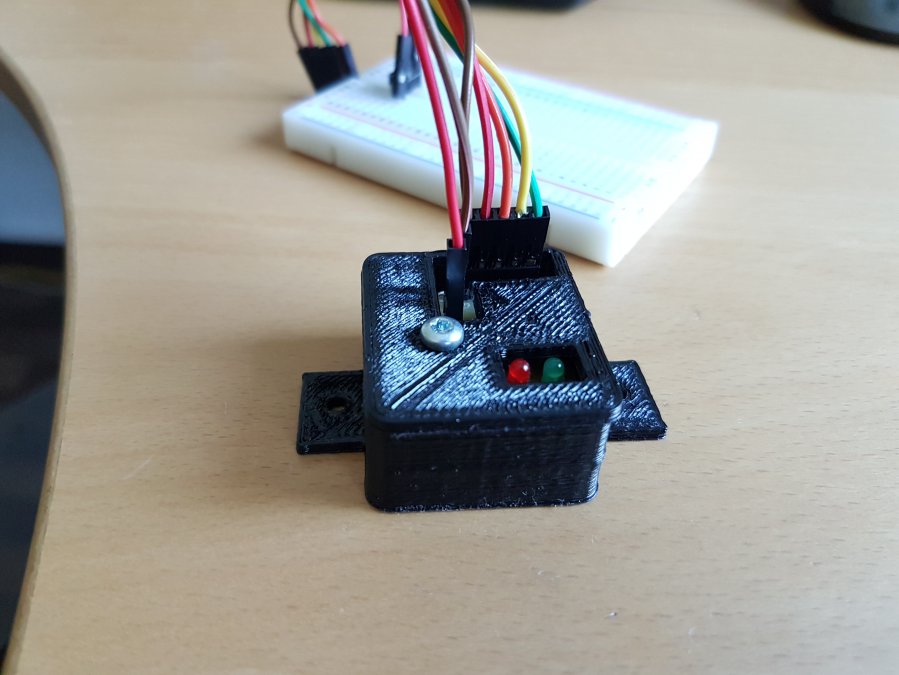
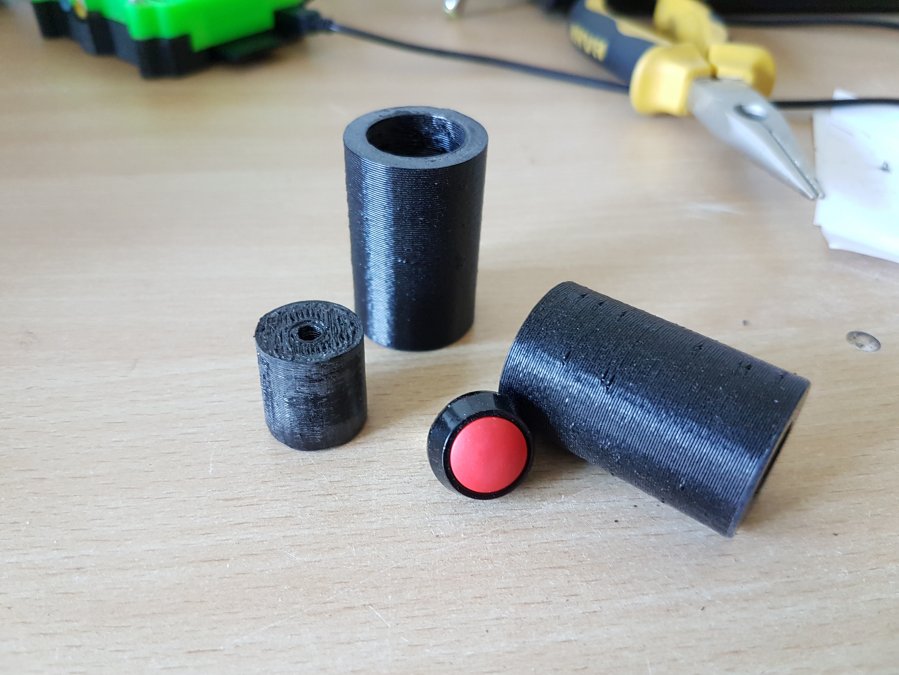
If you want to print the 3d-models, you'll find them on Thingiverse.
How to install all that stuff on my Raspberry Pi?
- Prepare a SD-card
- Boot and install
- Enable WiFi
- Check out the project and configure it
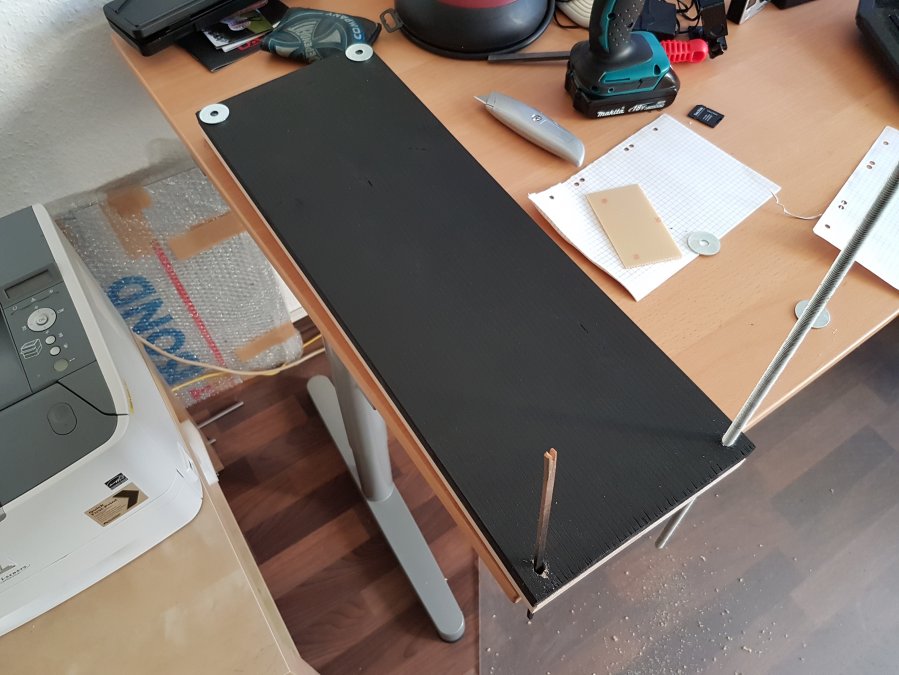
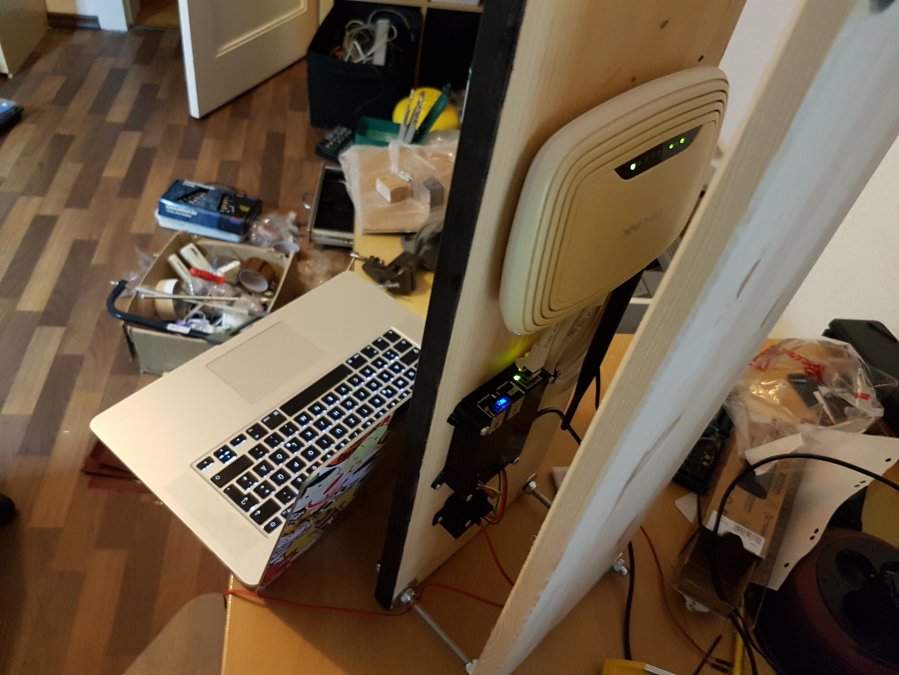
- Bonus: Some images while building
1) Prepare a SD-card
First you have to download the image of the OS. I'm using Raspbian. Noobs and Co. will work, too.
The image can get downloaded from: https://www.raspberrypi.org/downloads/raspbian/
After unzipping the image has to be stored on a SD-card. When you are using a Mac, use the "disk utility", to find out which name the card has:
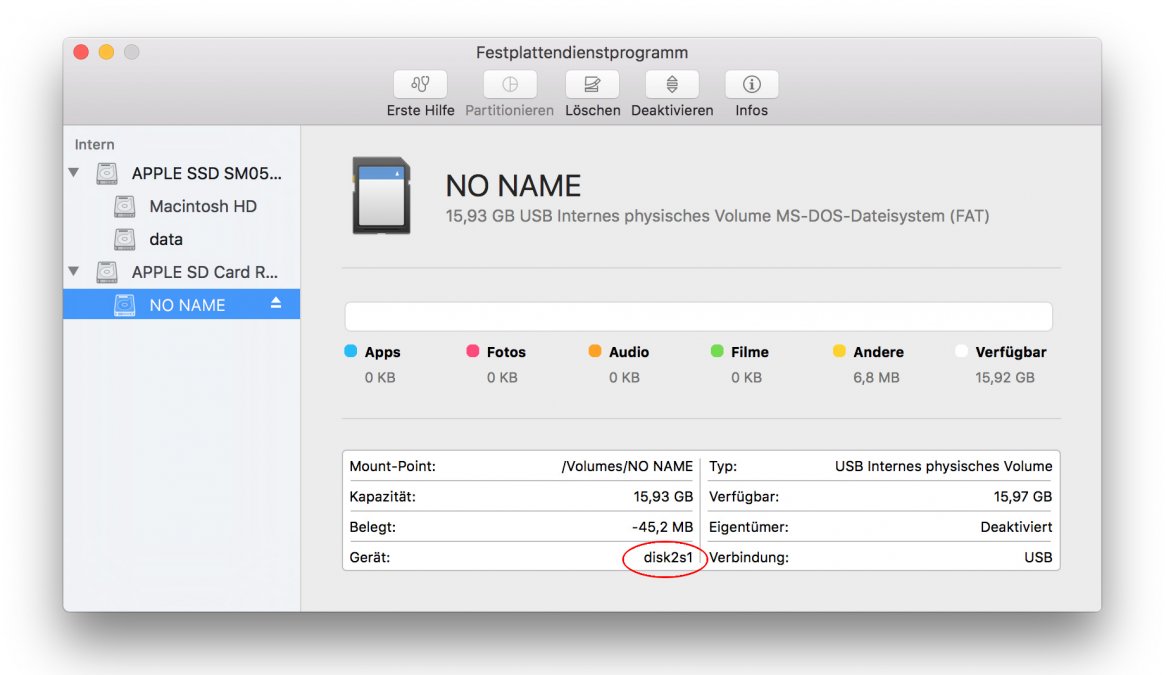
Now unmount the card and write the image (change disk2s1/disk2):
diskutil umount /dev/disk2s1
sudo dd bs=1m if=path_of_your_image.img of=/dev/disk2
This will take around 10-15 Minutes. After finishing, the script should give you some stats, similar to this:
3833+0 records in
3833+0 records out
4019191808 bytes transferred in 1188.257442 secs (3382425 bytes/sec)
If you are using windows, there is a tool with some GUI:
Win32DiskImager
For more information please take a look at the following links:
Linux: https://www.raspberrypi.org/documentation/installation/installing-images/linux.md
Windows: https://www.raspberrypi.org/documentation/installation/installing-images/windows.md
Mac: https://www.raspberrypi.org/documentation/installation/installing-images/mac.md
2) Boot and install
While the Pi starts, you should connect a monitor, or take a look at your router, to find out, which IP the Pi got via DHCP. Use this IP to connect to the board. If you are using windows, you could use Putty. If you use Mac/Linux you can use your terminal.
Username: pi
Password: raspberry
At first, we update the whole system:
sudo apt-get update
sudo apt-get upgrade
FFmpeg:
To deliver a previewstream for the website, we have to transcode the GoPro data. The script is using a 3rd party software, called FFMpeg. This code has to be compiled by yourself.
So let's do that:
sudo apt-get install libsdl-dev yasm
git clone https://github.com/FFmpeg/FFmpeg
cd FFmpeg
./configure
make -j4
sudo make install
Small hint: There is a parameter, called "-j4". This param tells the compiler to use all four cores to compile the source of your Raspberry Pi 2/3. I started with an Pi 1. This took me several hours. I used it to get some sleep.
NodeJs:
NodeJs! We need NodeJs for the handling of shuttering, LEDs and streaming a preview to our frontend.
The best solution to install NodeJs, I've found is using "n". This software will help you to install the right version. We need NodeJs >= 6.0.0
git clone https://github.com/tj/n
sudo make install
sudo n 6.0.0
When this is done, you should check the installed version. The response should be v6.0.0. or higher:
pi@flazetonk ~/n $ node -v
v6.0.0
Quick2wire GPIO Admin:
One of the used modules uses the software called "quick2wire-gpio-admin".
The source also needs to be compiled. It seems, that the developers have stopped developing the software. Meanwhile the path to read/write the in/outputs of the Pi has changed, so I forked the project and fixed the path. It should be working again:
git clone git://github.com/flazer/quick2wire-gpio-admin.git
cd quick2wire-gpio-admin
make
sudo make install
sudo adduser $USER gpio
Nginx / Php (with GD-Lib-Support):
Somehow the website has to be delivered and the images have to get downloaded from the GoPro.
So we have to add some more ingredients to our soup:
sudo apt-get install nginx php5-fpm php5-gd
3) Enable WiFi
The GoPro will deliver a livestream, to get this done, you have to activate the WiFi at your cam, to get it connected to your Pi. To get the connection done, we have to add the SSID and your password to a config file called "wpa_supplicant.conf":
sudo nano /etc/wpa_supplicant/wpa_supplicant.conf

Add the following lines:

network={
  ssid="SSID_DER_GOPRO"
  psk="PASSWORT_DER_GOPRO"
}
If you are working with a Raspberry Pi 3, you should disable the WiFi module's power saving options:
sudo nano /etc/network/interfaces

Add the following lines:
pre-up iw dev wlan0 set power_save off
post-down iw dev wlan0 set power_save on
Reboot the interface:
sudo ifdown wlan0 && sudo ifup wlan0
Done. The interface should get a IP from GoPro's DHCP:
ifconfig wlan0
inet addr:10.5.5.100
4) Check out the project and configure it
To make it really easy, I put everything in one repository. You should put the code directly to /var/www/. So the webserver can access this really easy.
git clone https://github.com/flazer/gopro-raspi-photobooth.git
cd photobooth/nodejs
npm install
You know what? The NodeJs script now, has everything to work properly. NPM has installed all it's dependencies. Awesome!
Now we just have to configure the webserver:
sudo nano /etc/nginx/sites-available/default

Change the following line:
root /var/www/html; -> root /var/www/photobooth/web;

add index.php:
index index.php index.html index.htm index.nginx-debian.html;

Uncomment some lines from php-block, to look like this:
        location ~ \.php$ {
                include snippets/fastcgi-php.conf;
        #       # With php5-cgi alone:
        #       fastcgi_pass 127.0.0.1:9000;
                # With php5-fpm:
                fastcgi_pass unix:/var/run/php5-fpm.sock;
        }

        # deny access to .htaccess files, if Apache's document root
        # concurs with nginx's one
        #
        #location ~ /\.ht {
        #       deny all;
        #}
Save it and reboot the webserver:
sudo /etc/init.d/nginx restart
Nearly done. Now we just have to configure some parts in our php-config, to get the website know, where to connect, to get a working stream and a socket:
nano /var/www/photobox/web/config/system.conf.php

'stream' => [
        'ip' => 'RASPBERRY_PI_IP',
        'port' => '8084'
],

'socket' => [
        'ip' => 'RASPBERRY_PI_IP',
        'port' => '1337'
],
To allow the webserver to store images directly on the Pi, give some rights:
sudo chmod 0777 /var/www/photobooth/web/img/photos/*
DONE! Just switch the GoPro's mode to "Picture", enter the IP of your Raspberry into your browser and be happy!
Bonus: Some images while building