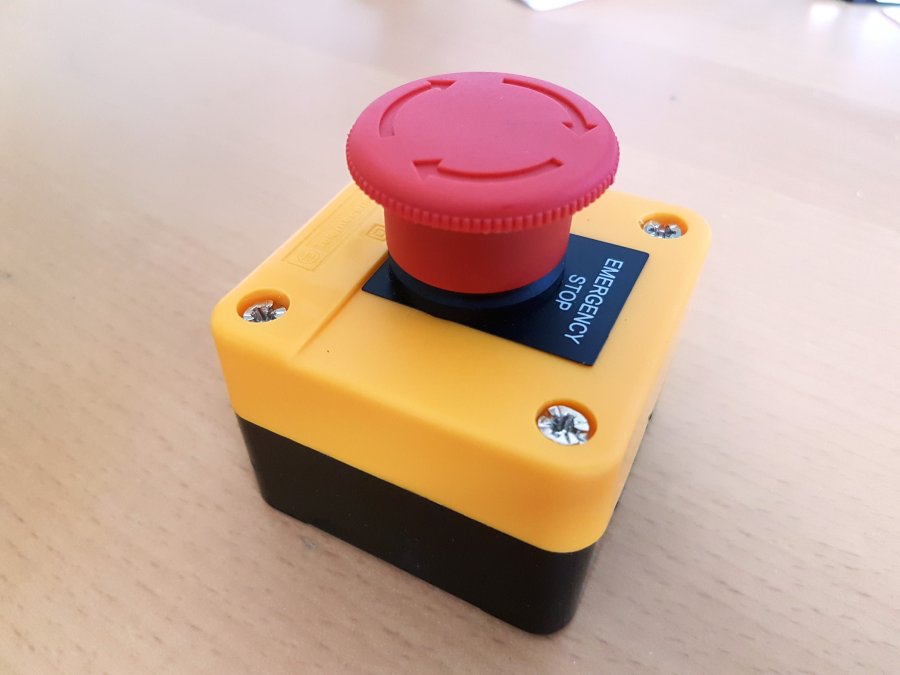
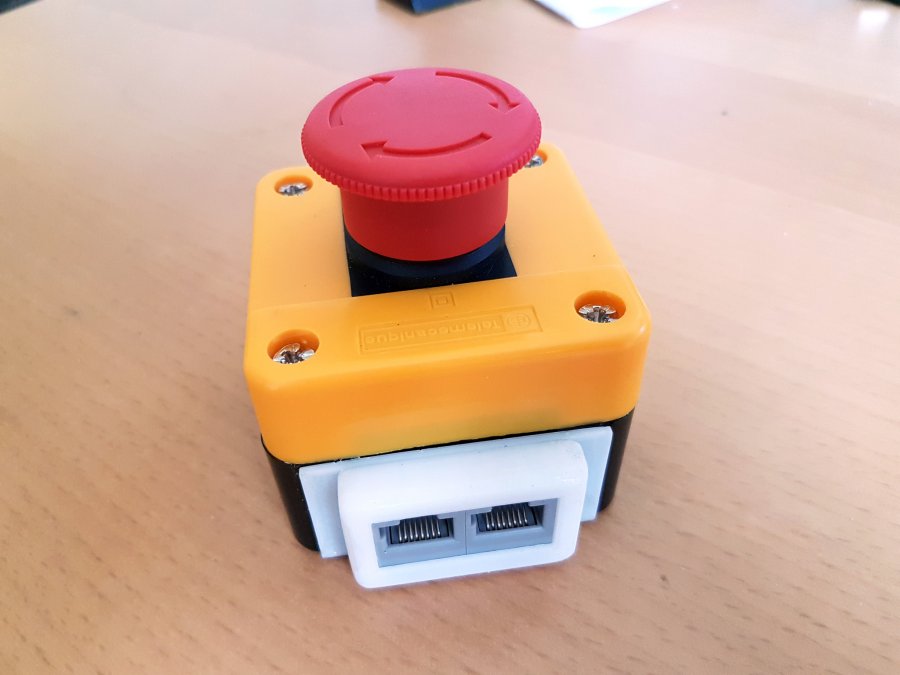
Internet Kill Switch
This Kill Switch is the last action, to prevent things getting up- or downloaded into/from the net. This idea came into my mind about 1-2 years ago, but to be honest: I never had a good idea to use it for. So I put it onto my "One day you'll build this"-list and nearly forgot about it. But now a project called "Kliemannsland" started here in Germany. An awesome idea of building a place for creative people, in rurality on an old farm, between Hamburg and Bremen.
The guys are working hard on modifying the farm, so it could be used as place for other people, who want to build things, making movies/music etc. For now it's only a big old farm with nearly infinitely space. So after we wrote some mails, I went there.
What can I say? I never met this amount of cool people ever before. They are really doing everything they can, to get this dream come true.
It came to me immediately: I need/want to help here!!!!111!
So I sat together with Hauke and talked about, if, how and what I can help with. We ended up with a long list. After we nearly finished the talk, I took out my "One day you'll build this"-list and talked about the switch. He really wanted this switch, to have a possibility of stopping a livestream immediately, if something goes totally wrong.
Because I was on holidays anyway, I stayed there for the next couple of days and helped, together with three other really cool guys to build the first version of a LAN. To get WiFi running on such a big Farm isn't as easy as it sounds. For now the first version is working, but we aren't finished yet. When we solved all problems, I'll write a new entry. Promised...
The switch is build to be used in big machines. But it will work for networks, too. We can handle that.
To build this, you'll need some things:
- The switch
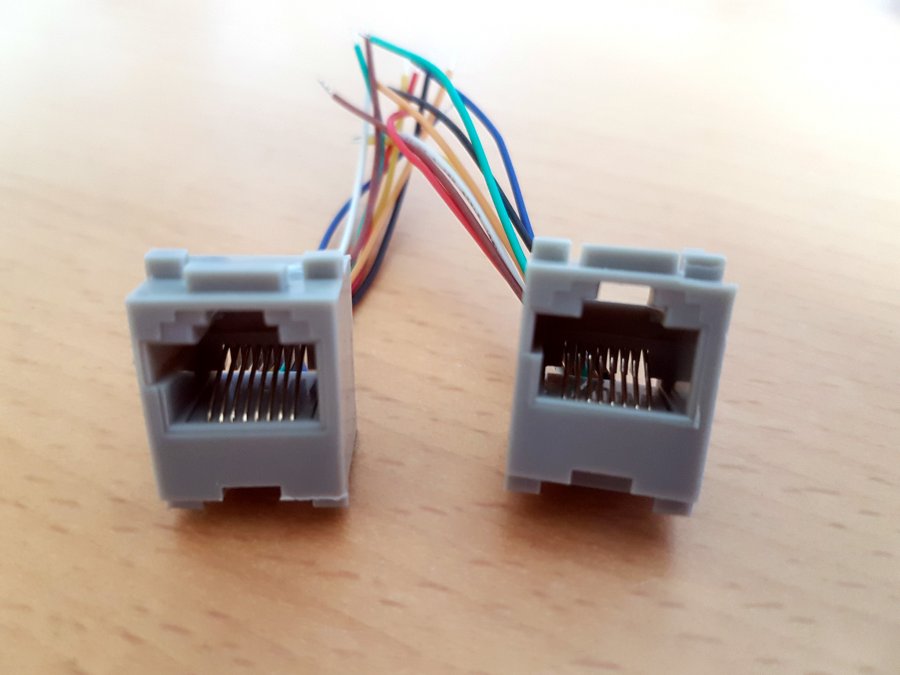
- 2 Network Jacks
- A little bit of Heat-shrink tubing
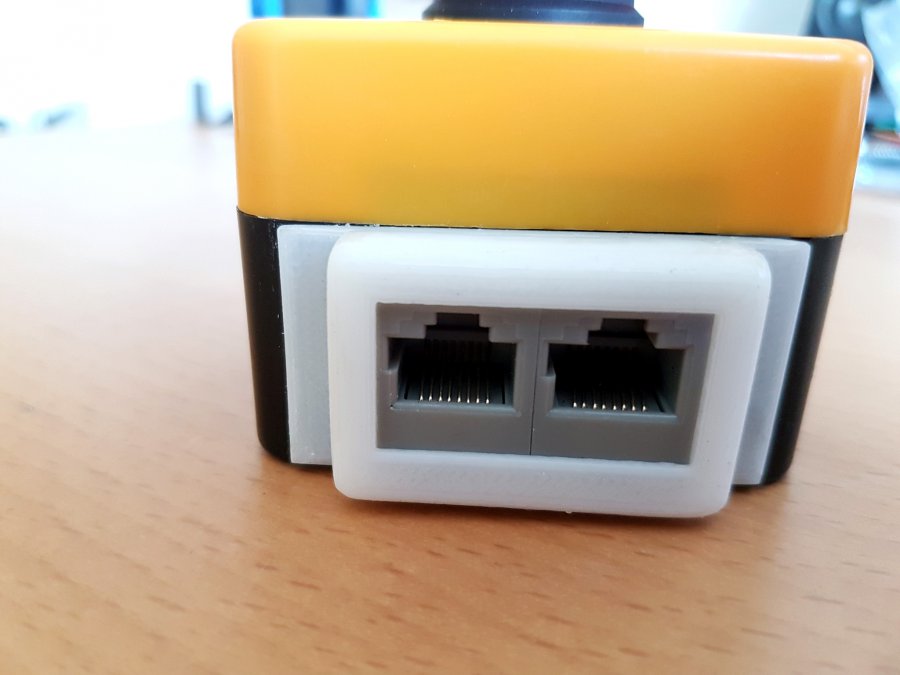
Open the switch and cut a big square out of it, so the jacks will fit in. If you aren't as silly as me, maybe you are able to be so accurate, that the jacks are holded directly by the case of the switch. I couldn't do it, so I had to construct and print a cover plate, which I glued onto the case:
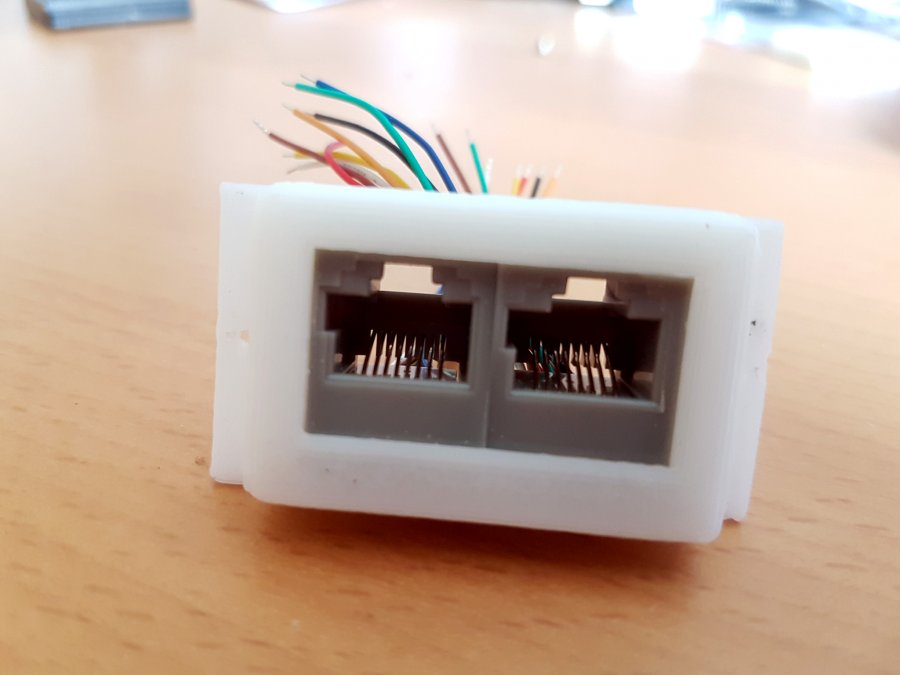
The cover plate has two functions:
- Looking good
- Holding the jacks
If you want to print the cover plate, you'll find the files at Thingiverse.com
Shorten the wires, except the orange one, and solder them back together, add some heat-shrink tubing, to prevent any short-circuits.
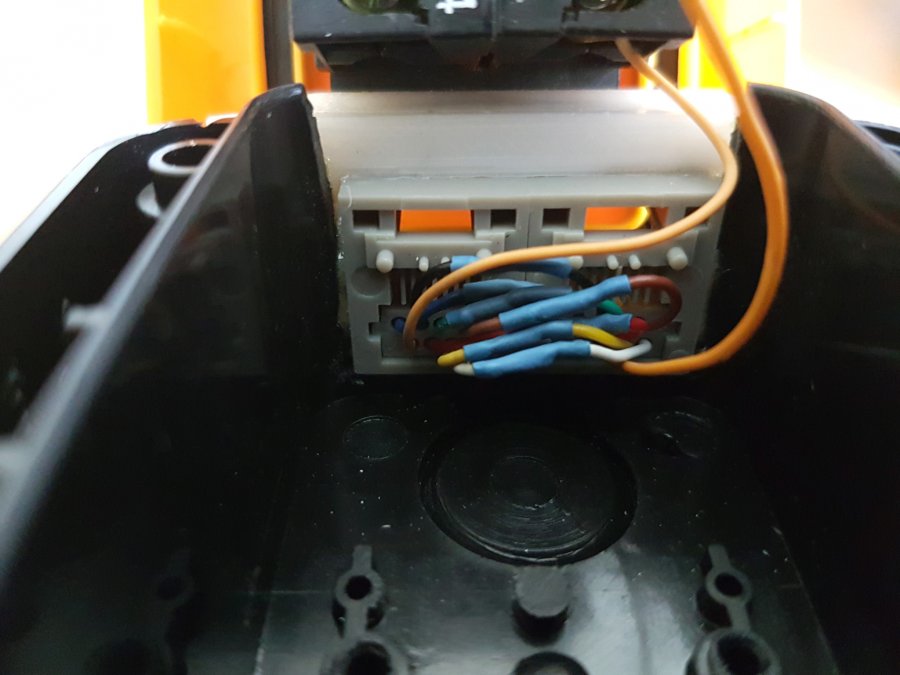
I extended the orange wire, so I was able, to get it through the switch:
If you don't like orange, you can also can use the green ones. Both colors are specified for transferring data.
This is, what we use to kill the uplink:
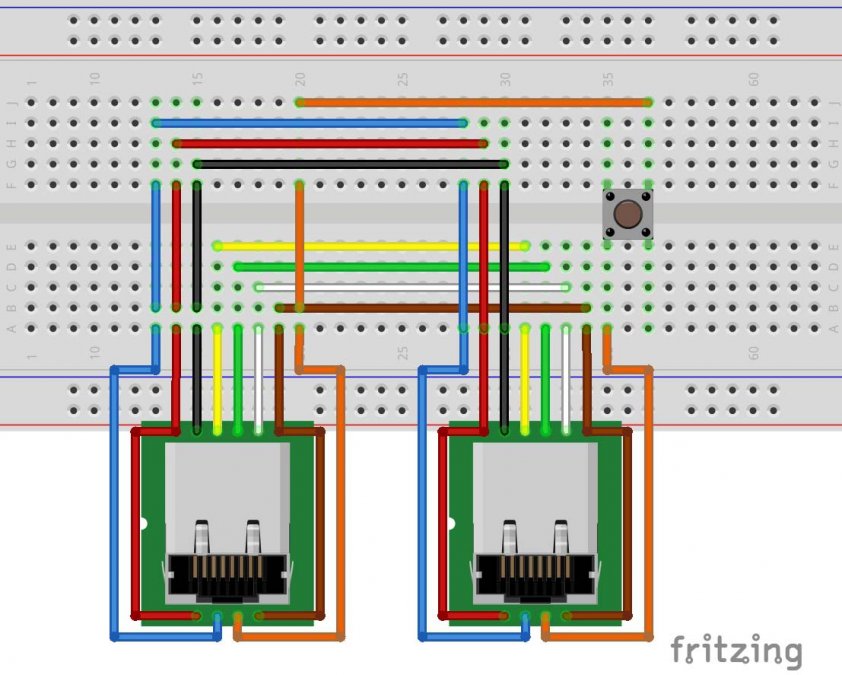
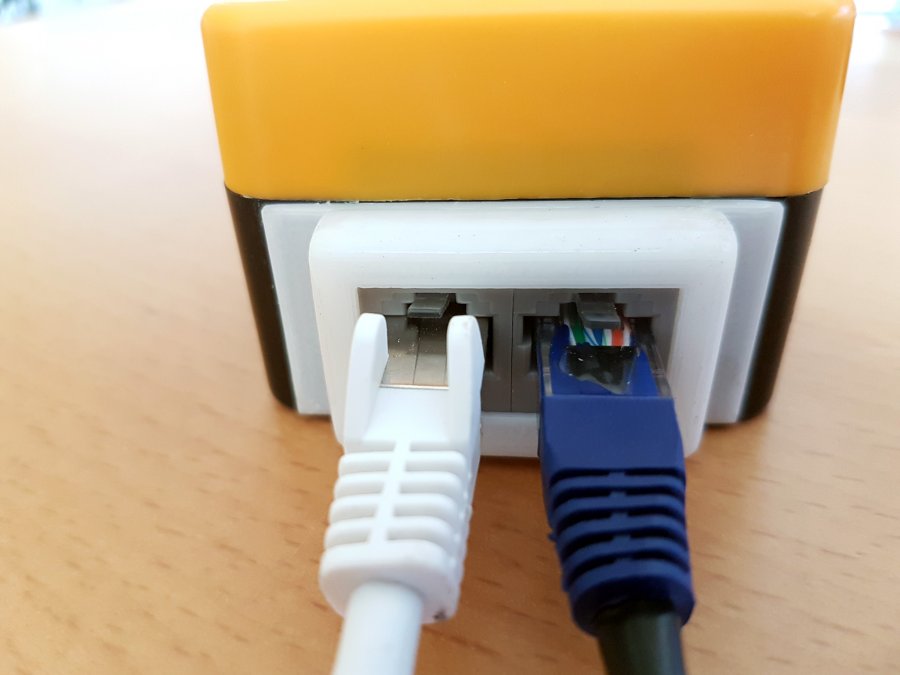
If you push the button, the sending of data will get interrupted.
The switch comes with four contacts. 1 and 2 are the ones, we want to use: If the button isn't pushed down, these contacts are close. If the button is pushed: They are opened. So: Connect the wires, glue the cover plate and reassemble the case:
I thought I could do this project in just one afternoon. But it took me 2 days. Here is a video (german only), which shows how I did it: