Freifunk (WiFi): Outdoor mount without drilling
Freifunk! Free WiFi for everybody!
Since two years, i'm more or less an "active" member of the "Freifunk"-community in Hamburg.
Unfortunately I'm the best in "don't be there on meetings", but at least I'm inventing some possibilities of mounting routers on windows.
My landlord started to renew the windows and put new insulation onto the walls. This was the end of my old Outdoorbox i've build some years ago, because it's prohibited to drill into the new walls or windowframes. I need a new idea.
My first outdoorbox was in use for nearly two years and this box did a good job.
But I just took some metalpiece and hammered into the windowframe. That worked, but the old wooden frame had been quite "destroyed". I did it likes this, because we knew, that we will get new windows "soon".
Here you will find a howto of building the old box.
It took me a couple of days (to be honest: weeks), to find a good solution. Some ideas were "something with super duper magnets onto the ledge (but it was aluminium), "A lot of duct tape" or "maybe something with ropes". But while i did my monthly "inspiration"-visit at the next DIY-market i found my personal, holy grail to work with:
A telescopebar to stretch it into the window lintel (is this the right term?).
But the new insulation destroyed this idea temporarily:
The insulation panels were just glued onto the walls and were plastered just 5mm. When you knock onto this, it just sounds hollow. If I would stretch the bar into there, it would end up with ugly holes in the insulation.
After some days of helplessness and while searching for a new solution, i finally found a good way:
The ledge is embeded into the insulation on both sides, just a few centimeters, but that will do it. It seems, that it's a protection to prevent rain flowing between the ledge and wall. Nevermind. I will use this space for my idea:
The aluminium ledge will dispense the weights (bar and router) in a good way, when i build a good "thingie", that fits into it and nothing will tip over. WTF?!! THIS is my best idea ever!!!
After i nearly got insane about this awesome idea as a good solution, i drove to the DIY-market and bought the expensivest telescopebar i could find. It's made out of aluminium and is red. Maybe because it was close to christmas. Fits to the season. I liked it.
The new bar was processed professionally with a "dremel", a drill and pure, raw violence to fit my needs.
That means: I removed all plastic, except the release fastener, because:
- Building 3D-Models will much easier, without these.
- Sunshine (haha. In Hamburg) will maybe damage the plastic.
While modelling the 3d objects, i guessed the first time, that maybe, this project will take longer, then i expected, because i really know NOTHING about the materials i work with. I didn't know anything about shapes and forces, which will work best for this plan. Just to make it short: Use round, simple and really fat shapes. This will work.
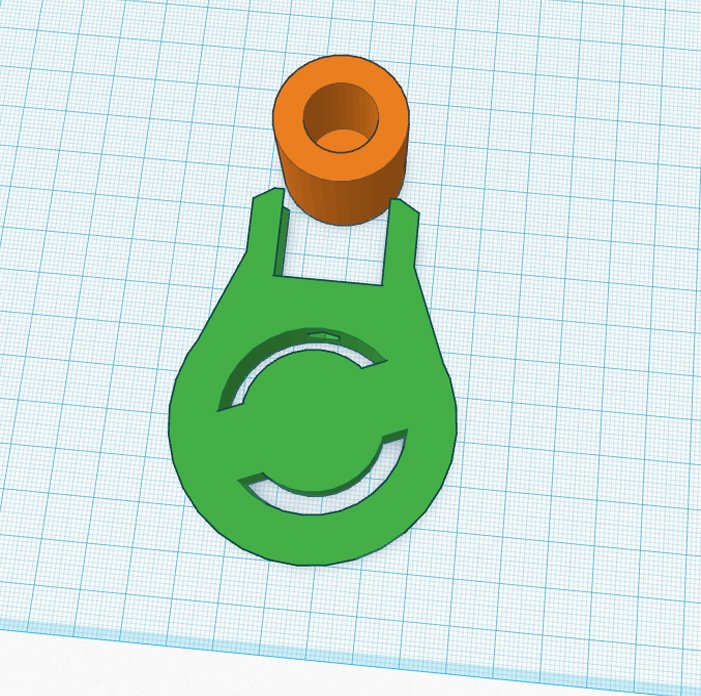
I really dawdled away a lot of time and filament, while building strange, sometimes really fancifully shapes. At the end it got a semicircle with a hole in the middle of it with some braces at it's rims. I really don't know if this braces are usefull, but the model looks less ugly.


For testing purposed i just mounted the old outdoorbox back on, just to check, if everything works as i hoped and expected. I learned one big thing:
Safety first. Nothing happend, but the german-me told me over and over, that the release fastener could break and everything could fall of and somebody could get injured. So i added a simple hoseclamp, to work as a stopper next to the fastener. I hope this will work. At least i could sleep fine again.


But this installation was removed very quickly:
My neighbor was really interested in "Freifunk" and so i gave him the construction for free. But this wasn't very a very selflessly action: Now i had a reason to buy new, even better hardware.
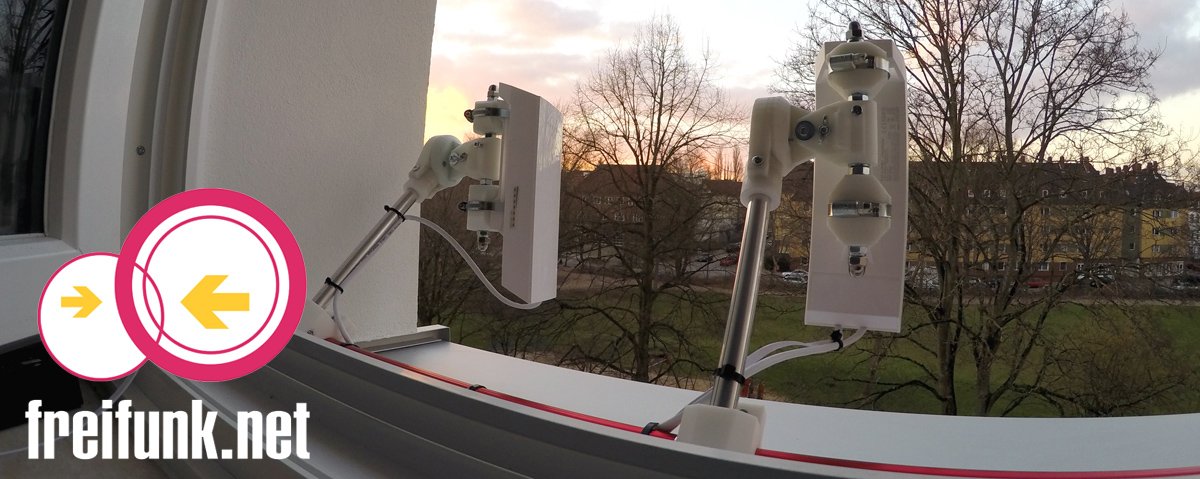
I mean the Access-Points you have seen at the beginning of this post.
Thef left one is a CPE510 the right right one a CPE210 both are manufactured by Tp-Link.
The 510er is a 5Ghz Accesspoint the 210er a 2Ghz one. This has a reason:
While the 210er is providing free WiFi to the park and meshing with my neighbor's router, next to the park, the 510er has to deliver it's signal down the street among a lot of apartments. In this area are a lot of Router which are working in 2,4Ghz, the problem is: Too much noise on all channels. On the other side, nearly nobody is using the 5Ghz-area.
I have switched my whole private Wifi to 5Ghz, because the 2,4Ghz band is totally overcrowed. I wasn't even able to get more then 2Mbit/s anytime. It took me some weeks, to figure out why, but this is a different story...
Nevermind. The 210er serves free Wifi to the people at the park and providing an uplink to the "Freifunk"-infrastructure. So the 510 is just a directional beam, between me and the guy at the end of the street. This beam is configured as Client/AP and totally transparent for the 210:

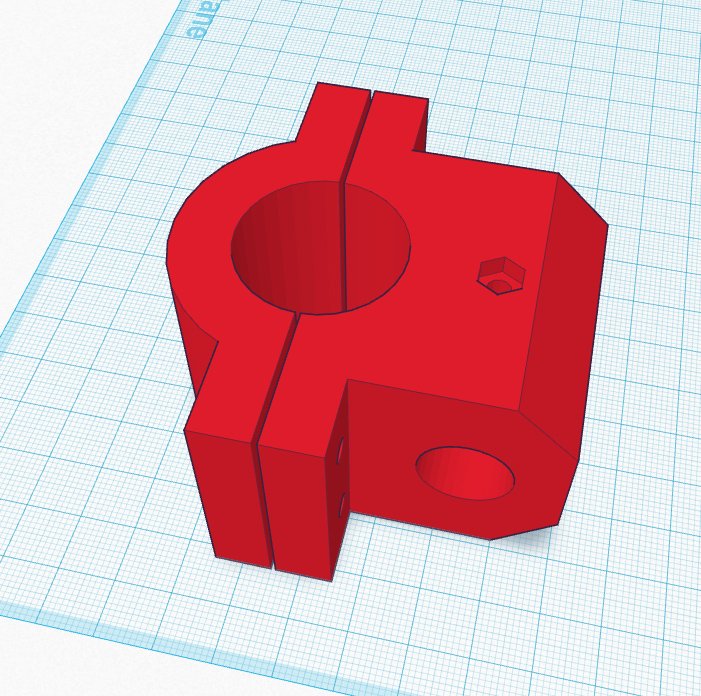
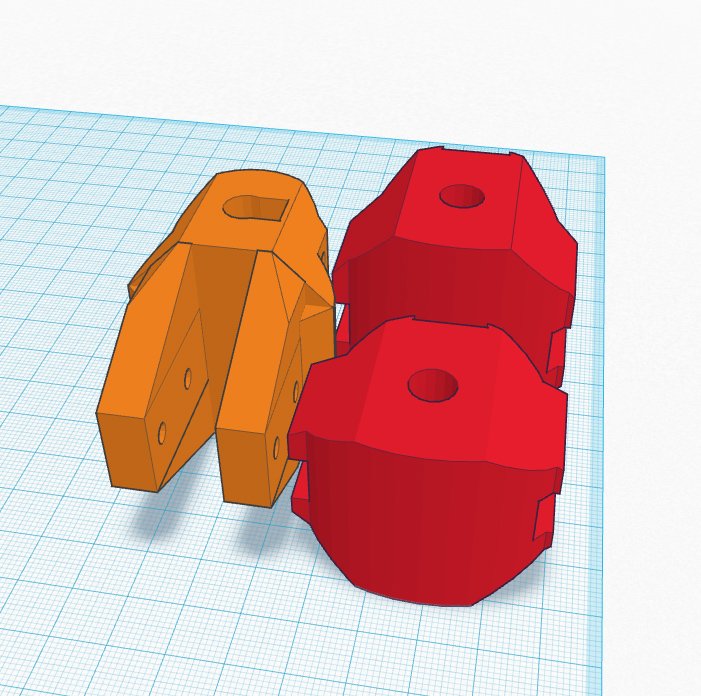
To mount the new Accesspoints onto the bar, i designed a new brackets, which have some space to move in all directions (up/down, left/right ...). The mainpart is an 8mm rod, on which the printed parts get mounted via nuts. Another (thinner) bar + mountingbracket connects the christmassy telescopebar with the other bar.


To prevent any movement of the bars, i added some holes to the 3d-models, so you are able to put a screw, or what ever, through the bar and bracket, to lock it. I just used it on the transition between the wallmount and bar and mounting to the Accesspoints. The other models, printed with ABS, are solid enough to hold everythin in place without any help. Astonishing!
On all models the models are about 4mm, the rod is 8mm. Except the baseplate model, which i designed with 3mm. (I really have no clue, why I did this. Sorry for that.)
If you want to build this mounting yourself, you will need:
- Screws m3/m4
- Nuts m3/m4/m8
- Rod m8
- Hoseclamps
- Washers
- 3d-Models
- more time than expected
You will find the 3d models on Thingiverse or as direct download: click
While i was building this holder, i shot a video, which i uploaded on YouTube. It's about 13 minutes long, but in german only: